Art Tutorial: Creating a Sweater Texture
Written by Airyn.
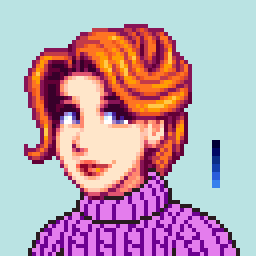
A tutorial on how to do a textured sweater portrait in pixel art, though it can also be adapted for use with other textures too. This technique relies on using layers, so you'll need a program capable of that.
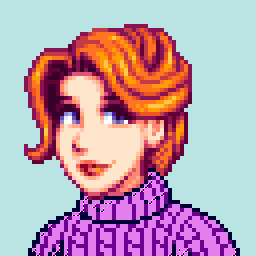
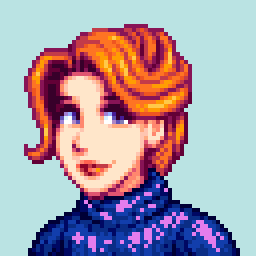
Step 1: To begin, draw the outline of the sweater, making sure to include key features like the collar, the armpit lines, and any major cloth folds. Then fill the empty space of the sweater with a lighter colour and draw the major lines of the texture in a darker colour - in this one, I'm doing a light cable-knit sweater, so I've drawn the vertical lines with small horizontal bars and vertical lines on the collar. Create your colour palette, but it's important not to use any of them at this step!
This will be referred to as the "texture layer" in the tutorial.
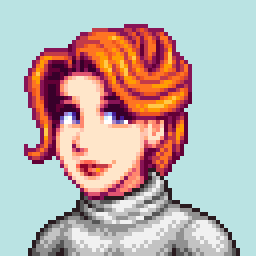
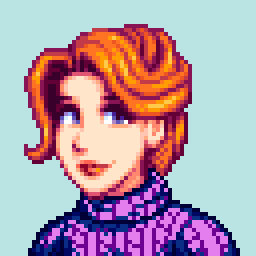
Step 2: Next, create a new layer and draw the shadows and highlights of the sweater in a nice easy-to-see greyscale. You can add some dithering and fabric folds in this step if you want.
This will be referred to as the "shadows layer" in the tutorial.
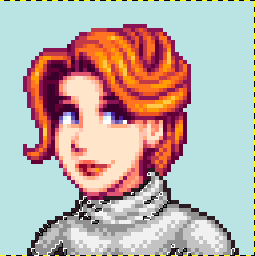
Step 3: Steps 3 to 8 are ones you'll be repeating a lot. Select the darkest shadow zone on your shadows layer.
Step 4: Switch to the texture layer, being careful not to change the selection area in your image.
Step 5: Deselect anything that shouldn't be in the darkest shadow zone. Here, I've deselected the main colour, leaving the cable-knit lines selected since they'll be a darker colour in order to stand out.
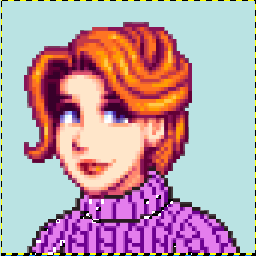
Step 6: Fill this selection area with the darkest colour in your colour palette (this can be your outline colour if you like, but be careful doing so as it may look bad depending on the texture you're doing). If you haven't done so already, select and fill the outline with your outline colour.
Step 7: Switch back to the shadow layer and again select the darkest shadow zone. Switch back to the texture layer and this time deselect the area you've already filled with colour - here, I've deselected the cable-knit lines since I've already filled them, leaving only the main colour sections within the darkest shadow zone selected.
Step 8: Fill this selection area with the second-darkest colour in your colour palette.
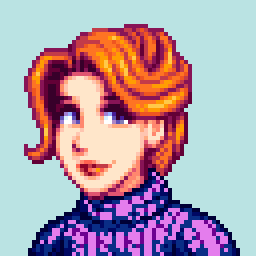
Step 9: Repeat Steps 3 to 6 with the second-darkest colour.
Step 10: Repeat Steps 7 to 8 with the middle colour.
Step 11: Repeat Steps 3 to 6 with the middle colour.
Step 12: Repeat Steps 7 to 8 with the second-lightest colour.
Step 13: Repeat Steps 3 to 6 with the second-lightest colour.
Step 14: Repeat Steps 7 to 8 with the lightest colour.
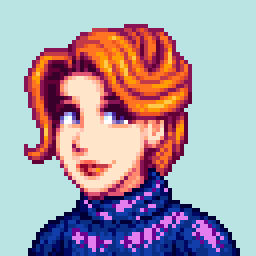
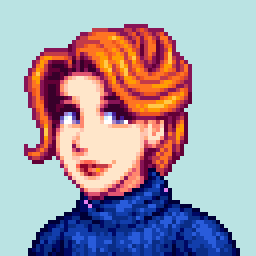
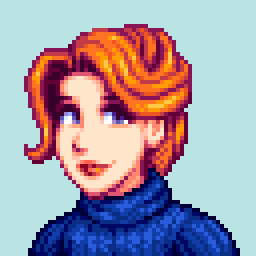
Step 15: By this point, you should have all of your colour palette filled in and it should resemble a sweater! In this final step, make any manual tweaks or adjustments that need doing - for example, here I realised that a few pixels had been missed, I reworked the highlights on the left sleeve, and fixed a few pixels that looked odd or were by themself.
The end! Congrats on making a pixel sweater!

