So You Want To Be a Map Modder: Preparations
Making and editing Stardew Valley maps can be a fun way to add a bit of spice to your gameplay, be it customizing an already existing area more to your taste, or adding whole new places to visit and explore. However, maps are finicky because they have a lot of rules that need to be followed for making them, and they're not exactly obvious to a novice. This tutorial will hopefully help you avoid the most common map making pitfalls.
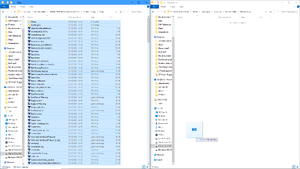
First things first, we're going to need a couple of things. First is an unpacked content folder and next is Tiled. It doesn't really matter where you put either of them, as long as you have that unpacked folder and you have Tiled installed. Next, make another folder wherever you want. Label it whatever you want, but make sure you know it's for mapmaking. Enter your unpacked content folder, find the map folder, copy everything inside of it, and move it to mapmaking.
Rules of the mapmaking folder:
- We work in this folder and only this folder when we are editing the map
- We add in any additional tilesheets we might need to this folder if we need more for mapmaking and do not target anything outside the folder
- We save our mapmaking work only in this folder and in no other folders
- Any maps we copy/paste nice tile shapes from must also be in this folder.
Failure to adhere to these rules can and will result in errors for the map. Yes, that means that if you've moved the map to a mod folder to use it and you try to edit it there, you will get errors. Just move your map back into the mapmaking folder, make your edits inside the mapmaking folder, and then move the map back to the mod folder. It might seem tedious, but it's really the best way to handle things, especially if you're working on a lot of maps at once.

